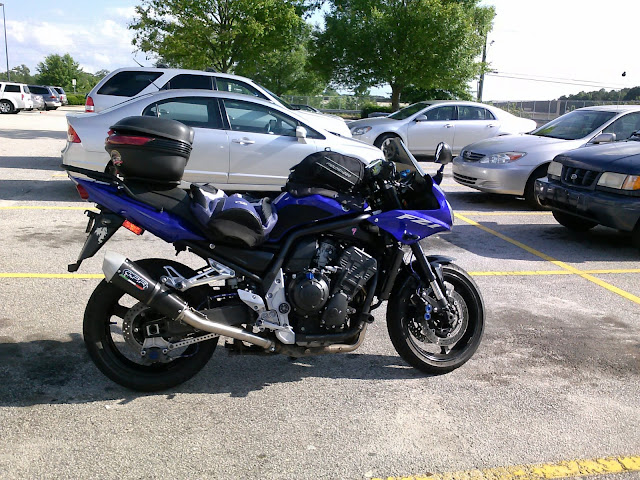
Last year in an effort to learn to do some of my own maintenance, I scratched the *&^%$#@! out of my rear rim attempting to change the tire on my Harbor Freight Tire Changer without modding it. The guy I bought it from said he did tire changes without scratching the rims so I should be able to as well. Uhh...nope.
Duriing the winter, I attempted to rectify the damage by stripping the paint like ZGrand (from the FZ1OA) did. By spring, I realized I really didn't like they way it looked on Baby and started investigating solutions. The most expensive is aftermarket rims (all the way from Japan), the least was rim paint. My pocketbook really liked the rim paint so that's what I got.
I read about it before but nothing really good. I got the Duplicolor Wheel Coating from O'Reilly's Auto Parts and the Duplicolor Paint Stripper in case the aircraft stripper I used in the winter ran out. Then I spent some time reading and watching videos to make sure I understood what I was doing before I actually did anything.
A few months after I bought the stuff, I finally made the first step: Remove the rim and break the bead on the tire. I didn't plan to remove the tire at all. The next step was to remove the rest of the paint with the stripper and a scotchbrite pad.
 |
| I had a little help from my nephew. |
The fourth step: tape anything I didn't want painted. I found it in pictures online and from the video on the duplicolor site. I forgot to take a pic before I put the first coat on. First coat went on pretty easy and dried quickly enough so that I could put a second coat on within 15 or 20 minutes.
It came out looking pretty good so the next morning I decided to add a couple more coats. Bad decision. My hands started hurting midway though the extra coat and I couldn't keep constant pressure on the spray button making me stop before I did anything else to make it look worse. Before the extra coats it looked good even up close, after it looked good from some feet away.
I gave it a few hours to dry before removing the tape (opposite direction from the paint so as not to peel any away with the tape), re-seating the bead, and re-airing the tire. A couple of hours later, I put it on the bike.
I think I got lucky that it came out so well. I even have paint leftover for future touchups that I'm certain will be needed after my next tire change. At under $15 for both the paint and stripper I can't complain about the outcome. The only question that remains is durability. Hopefully it will be durable enough for me to learn how to change the tires without messing up the rim.
One other thing I did was to put on the tank pads I got at the beginning of the year. Baby looks fantastic with all black rims and the tank pads!
 |
| Just need to get rid of that dent now. |
patrice, theWolfTamer
 |
| Taken after a short birthday ride. |


Looks good man. I love black wheels, cause they don't show brake dust. I painted my old GSXR 1100 wheels like that, but used auto paint from wal-mart. Maybe the stuff you got is better. I prob will redo my Zx-14 wheels one day. Thanks for the tip. Oh, and to really get them smooth, wet sand with 1000 grit paper in between coats.
ReplyDeleteThanks for the tip. I didn't sand between coats just before but I really like the finish. I'm just hoping it holds up.
Delete